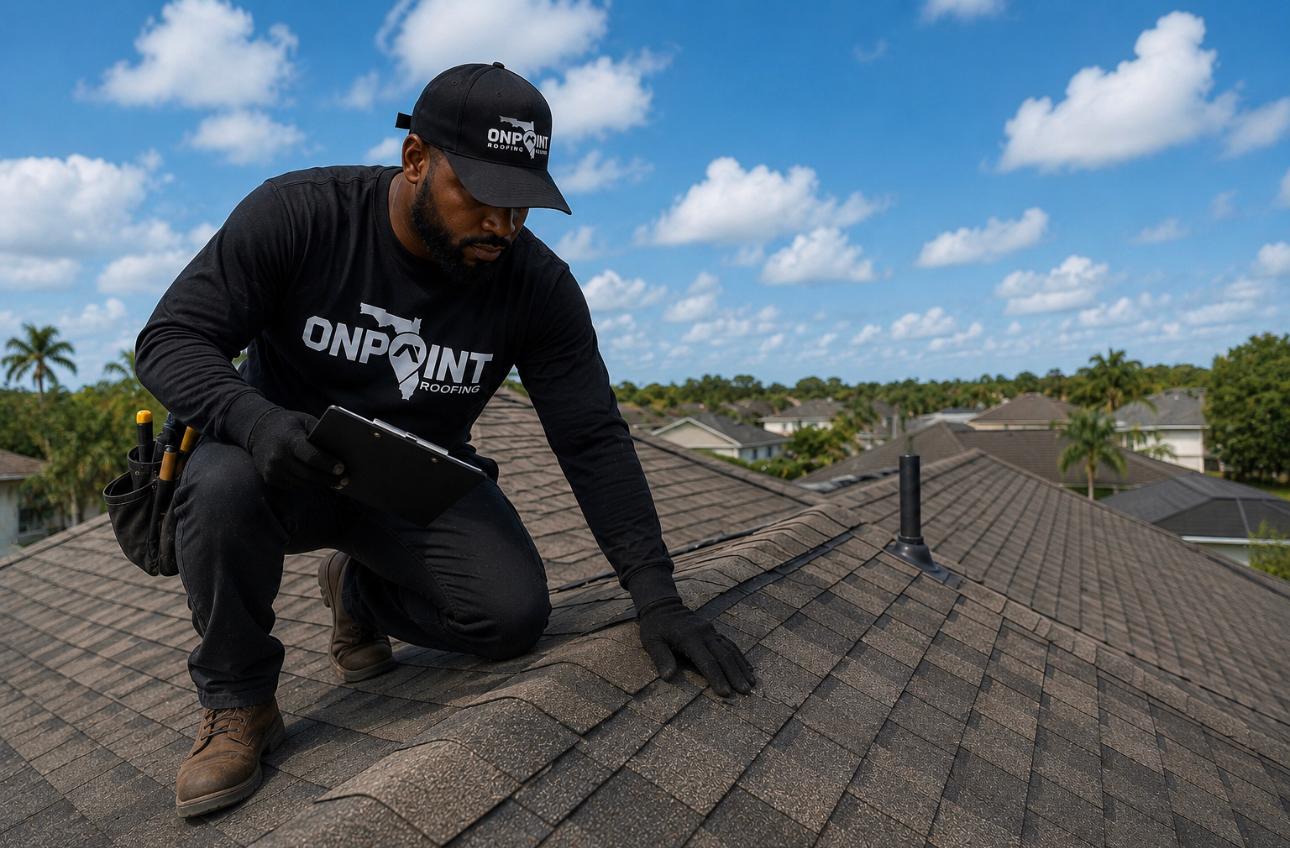
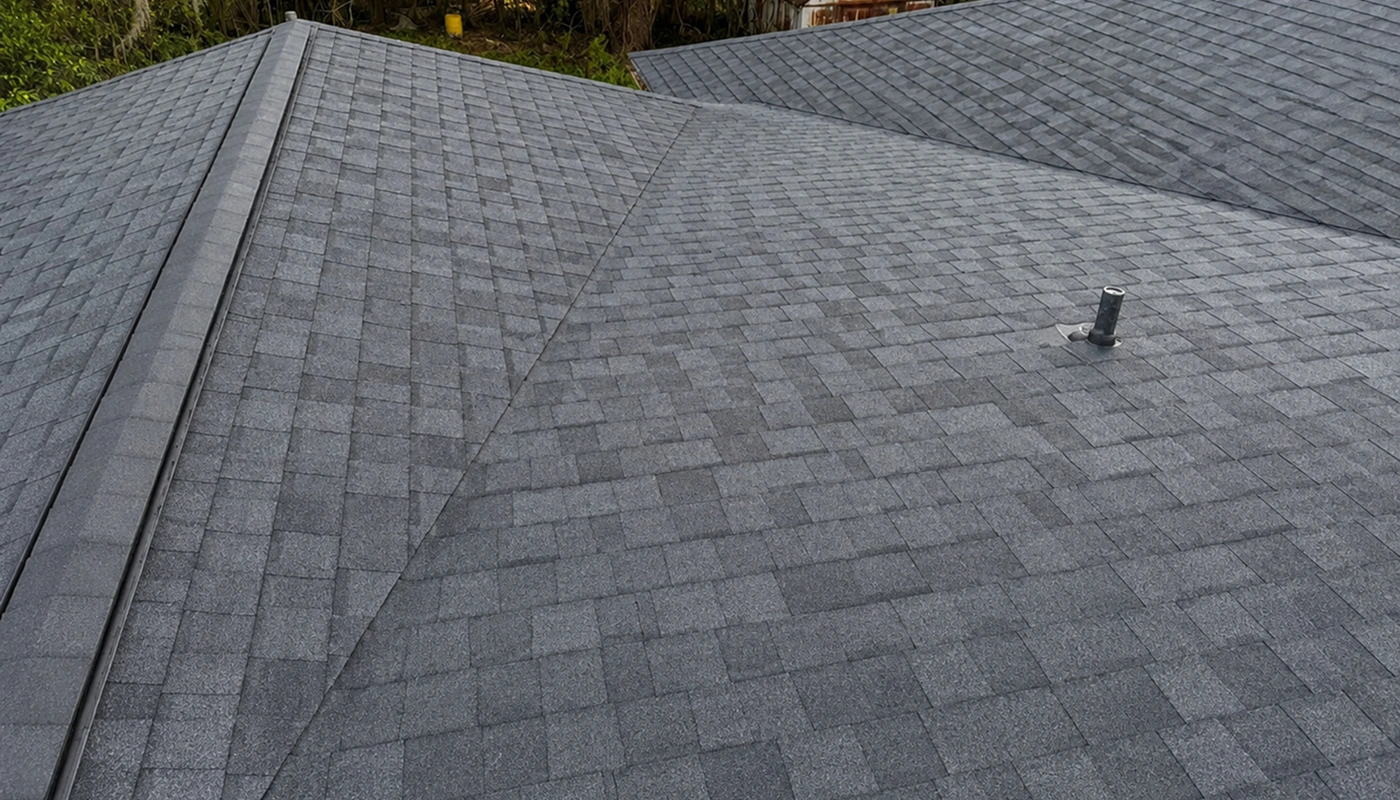
How to Prepare Your Orlando Home for a Roof Replacement. What to Do the Day Before, During, and After.
The Week Before Your Roof Replacement
A week before the installation date, confirm the following with your roofing contractor in writing or by phone:
● Exact start date and approximate arrival time for the crew
● The material that will be installed and the brand and product line specified in your estimate
● The dumpster or debris collection plan and where it will be placed on your property
● The permit status. Your contractor should have the permit already pulled before the crew arrives
● Your point of contact for the day of installation and how to reach them
● The payment schedule and when each payment is due
● Weather contingency plan. What happens if weather delays the job mid-installation
Handle HOA notification if applicable
Many Apopka, Winter Garden, and East Orlando communities have HOA requirements for exterior home improvements. If your neighborhood has an HOA, check your CC&Rs for any notification or approval requirements before work begins. Most HOAs require advance notice of roofing work and may specify approved color palettes for shingle selection. A good contractor will advise you on this but the responsibility for HOA compliance rests with the homeowner.
Arrange any special circumstances
If you have pets that will be stressed by the noise, arrange for them to be elsewhere for the duration of the installation. Roof tear-off and installation is loud and the vibration travels through the structure. If you work from home and have video calls scheduled, consider working from a coffee shop or library on installation day. If you have an infant, plan for their nap schedule to be disrupted.
The Day Before Your Roof Replacement in Orlando
Clear your driveway and yard access
Your roofing crew needs clear access to bring materials to the roof and to place the dumpster or debris collection system. Clear your driveway completely. Move vehicles to the street. Clear any outdoor furniture, potted plants, or decorative items within 10 feet of the home on all sides. The crew will be walking around the perimeter continuously and materials will be staged near the house
Protect interior items from vibration
Roof tear-off and installation creates significant vibration that travels through the walls and ceiling structure. This vibration can knock pictures off walls, shift items on shelves, and rattle loose anything that is not secured. The day before installation, walk through your home and take down framed pictures and mirrors on walls adjoining the roof area. Move fragile items on shelves away from the edges. Check your attic for any stored items that could be disturbed by vibration.
Cover attic contents
During tear-off, small amounts of debris including old nails, dust, and granules can filter through gaps in the attic decking into the attic space. If you store items in your attic, cover them with old sheets or tarps the day before. Your contractor should be minimizing debris infiltration but Florida homes with older decking or gaps at the ridge vent area can see some infiltration during aggressive tear-off.
Turn off ceiling fans
Vibration from the installation can cause ceiling fan blades to become unbalanced or loosen mounting hardware over time. Turn off all ceiling fans for the duration of the
installation. If you have a ceiling fan in a room directly below an actively worked area, tape a note on the switch as a reminder.
Mark sprinkler heads and landscape lighting
If you have an irrigation system or landscape lighting around the perimeter of your home, mark the locations of sprinkler heads and light fixtures with small flags or stakes. Roofing crews carrying heavy materials and working around the perimeter can accidentally step on or break unmarked landscape features. A few minutes of marking the day before prevents a more frustrating conversation after the job.
What to Expect on Roof Replacement Day in Orlando
Crew arrival and setup
Most roofing crews in Orlando arrive between 7 and 8 in the morning. The first tasks are staging materials, placing the dumpster, and setting up safety equipment. If you are home, introduce yourself to the crew lead and confirm you have a direct contact number for them. You do not need to supervise the work but knowing who to talk to if you have questions makes the day smoother.
A standard asphalt shingle replacement on an average Orlando home takes one to two full days. Do not plan major household activities for installation day. The noise level and occasional need to access your attic makes a quiet productive day at home difficult.
The tear-off phase
The loudest and most disruptive phase of the installation is the tear-off. All existing shingles, underlayment, and in some cases flashing are stripped from the deck down to the bare wood. This phase involves hammering, scraping, and the sound of materials falling into the dumpster. On an average Orlando home, tear-off takes two to four hours for a crew of four to six workers. You will feel and hear it throughout the house.
Deck inspection
Once the deck is exposed, your contractor will inspect it for soft spots, moisture damage, and areas where the decking needs replacement. This is the point at which any deck repair costs that were not visible during the pre-installation inspection become apparent. A reputable contractor will show you or photograph any damaged deck areas before replacing them and will charge only for actual sheets replaced at the per-sheet rate specified in your estimate. Ask to see any replaced deck sections before they are covered with the new underlayment.
Underlayment and shingle installation
After deck repairs are complete, the new secondary water barrier and synthetic underlayment go down followed by the shingles. This phase is significantly quieter than tear-off and moves quickly on a well-organized crew. The installation proceeds from the eave upward, with each course of shingles overlapping the one below it. Ridge cap is the final step before the field installation is complete.
Detail and cleanup
After the main field installation, the crew completes all flashing details at penetrations, edges, and transitions. This is the most skilled part of the installation and the step that most affects the waterproofing performance of the new roof. On a quality installation, detail work at chimneys, skylights, and pipe boots takes as long as similar-sized sections of field shingles. The final step is cleanup including magnetic roller sweeps of the yard and driveway to collect nails.
Stay out of the work zones but stay accessible
You do not need to be present for the installation but you should be reachable by phone in case the crew lead needs to discuss a finding or make a decision. If deck damage is found, the crew lead should contact you before replacing sheets so you are not surprised by an additional cost at the end of the day.
Do a mid-day walkthrough if possible
Around midday, if you are home, do a quick exterior walkthrough to see the progress and check that the work site is being kept organized. Look at where materials are staged, how debris is being managed, and whether the crew is working methodically. A well-run crew maintains an organized site throughout the day. An unorganized site with materials scattered and debris accumulating in uncontrolled areas is a flag worth noting.
Keep children and pets inside
The exterior of your home is a construction zone during installation. Falling materials, roofing nails on the ground before the magnet sweep, and crew members moving quickly with heavy loads create genuine hazards for children and pets who wander into the work zone. Keep them inside or secured in a specific area of the yard away from the work perimeter for the full duration of the installation.
What to Do After Your Orlando Roof Replacement Is Complete
Conduct a final walkthrough with the crew lead
Before the crew leaves, walk around the exterior of the home with the crew lead. Look at the ridge line, the valleys, the flashing at all penetrations, and the gutter condition. Check that all downspouts are clear and that the drip edge is properly installed along the eaves. If anything looks incomplete or out of alignment, raise it before the crew demobilizes rather than after.
Check the attic
After the crew has left, check your attic. Look for any light coming through the deck that was not there before. Check that no debris has accumulated in the attic space. Confirm that existing ventilation, soffit vents, and ridge vents are clear and not obstructed by new materials.
Do a nail sweep of your property
Even with a magnetic nail sweep, some nails end up in unexpected places. Walk your yard, driveway, and any areas where foot traffic is common with a careful eye. Check around the perimeter of the home, in garden beds, and in any gravel areas. Drive your vehicle out and back in once to check the driveway. Finding a nail before it finds a tire or a foot is worth five minutes of your time.
Schedule your wind mitigation inspection
Within a week of your roof completion, schedule a wind mitigation inspection with a licensed Florida wind mitigation inspector. The inspector completes the OIR-B1-1802 form that documents your new roof’s wind-resistant features. Submit this form to your homeowner’s insurance company to unlock the premium discounts that come with a properly installed Florida roof. The annual savings typically range from $200 to $900 depending on your insurer and coverage level.
Notify your insurance company
Do not wait for your annual renewal to inform your insurer of the new roof. Contact them with the completion date and the wind mitigation form as soon as you have both. Many insurers will apply the reduced rate mid-term and issue a pro-rated refund.
Keep all documentation
File your permit documentation, the final county inspection card, the manufacturer warranty registration, and the contractor workmanship warranty in a safe location. These documents protect you for the life of the roof and are required if you ever file an insurance claim or sell the home. A roof with complete documentation history commands more confidence from buyers and adjusters than one without.
Wait for the county inspection
Your contractor schedules the county inspection with Orange, Osceola, or Seminole county as applicable. The inspection typically occurs within one to two weeks of installation completion. The inspector verifies that the installation meets Florida Building Code requirements. Do not schedule any additional roofing work or surface treatments until after the permit inspection is passed and the permit is officially closed. Contact OnPoint Roofing if the inspection has not been scheduled within ten business days of completion.
Frequently Asked Questions About Roof Replacement Preparation in Orlando
Ready to Schedule Your Orlando Roof Replacement With OnPoint Roofing?
OnPoint Roofing handles every step from the free inspection and written estimate through the installation, the county permit inspection, and the wind mitigation documentation. We communicate clearly at every stage so you always know what is happening, what to expect next, and who to call with questions.