How Long Does a Roof Inspection Take in Orlando and What Happens During One?

A professional roof inspection in Orlando takes 45 minutes to an hour for an average-sized home Larger homes, complex rooflines, or homes with flat sections in addition to pitched roofs may run closer to 90 minutes. If the inspector is done in 15 to 20 minutes, the inspection was not thorough. This guide walks you through exactly what happens during every phase of a professional roof inspection, what a proper written report looks like, and what your options are based on what the inspection finds.
Before the Inspector Arrives: What to Do to Prepare
Clear attic access if possible
If your attic has a pull-down stair or hatch, make sure it is accessible. A thorough inspection includes an attic check for moisture staining, deck condition from below, and ventilation assessment. If the attic is blocked by stored items, clear the access point and a path to the main attic area.
Know the basics about your roof
It helps to know approximately when your roof was last replaced, whether you have had any leaks or repairs in recent years, and whether there are any specific areas you are concerned about. This information helps the inspector focus their attention and provides context for their findings.
Have your documentation ready if available
If you have the original installation paperwork, warranty documents, or records of any previous repairs, have them available. The inspector can use this information to contextualize what they find.
Phase 1: The Initial Consultation. What the Inspector Asks Before Getting on the Roof.

A qualified inspector does not go straight to the ladder. They start by asking you questions that provide context for what they are about to find:

  • How old is the roof to your knowledge?
  • Have you had any leaks or water stains inside the home?
  • Have there been any repairs done on the roof in recent years?
  • Has your home experienced any significant storm events recently?
  • Are there any specific areas you are concerned about?
  • Do you have any documentation from a previous replacement or repair?

These questions take five to ten minutes and meaningfully improve the quality of the inspection by directing the inspector’s attention to the areas of highest concern before they get on the roof.

Phase 2: The Exterior Ground-Level Assessment

Before getting on the roof, the inspector walks the entire perimeter of the home and observes from the ground. Here is what they are looking for:

Overall roofline condition
Checking for sagging, uneven sections, or obvious structural concerns visible from the ground. Any deflection in the ridge line or visible dipping in roof sections indicates potential structural or deck issues below the surface.
Visible shingle condition
Looking for missing shingles, curling at edges, blistering, visible cracking, or uneven color variation that may indicate granule loss or previous repair patches.
Gutter condition and granule accumulation
Examining gutters for denting that may indicate hail impact, checking for visible granule buildup inside gutters or at downspout exits, and noting whether gutters are properly attached and draining correctly.
Visible flashing at eaves and rakes
Noting whether drip edge is present and properly positioned along the eave and rake edges.
Chimney, skylight, and vent condition from ground level
Noting any visible separation, cracking, or debris accumulation around penetration points visible from the ground.
Phase 3: The On-Roof Inspection. What the Inspector Checks From Above.

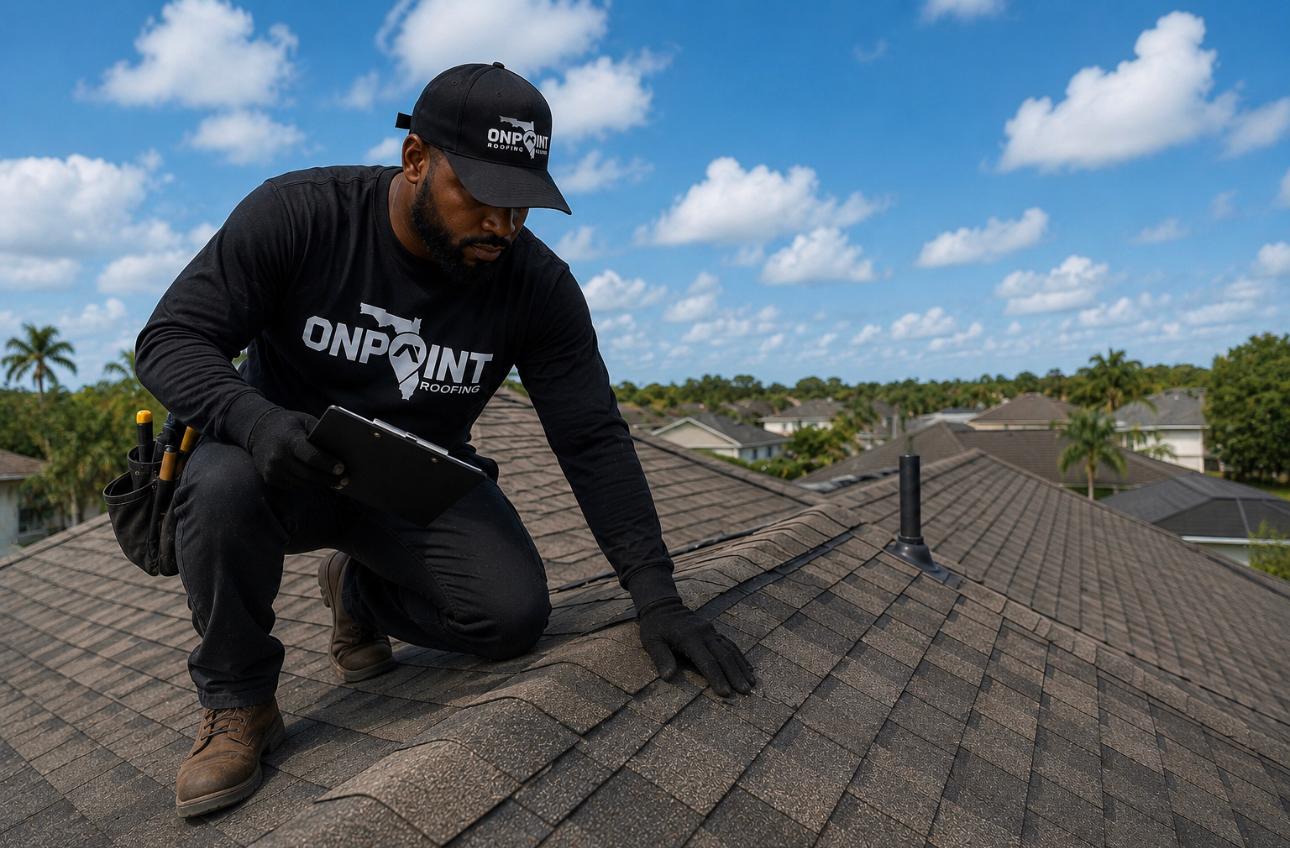
This is the core of the inspection and the phase that most distinguishes a professional assessment from a casual look. Here is what a thorough on-roof inspection covers:

Shingle condition by section
The inspector walks the roof systematically, section by section, checking shingle condition across the field of each roof plane. They are looking for granule loss patterns (random wear vs hail impact distribution), cracking or brittleness indicating UV degradation, curling or cupping at shingle edges indicating adhesive failure, and any lifting or separation indicating wind damage.
Ridge cap inspection
Ridge caps sit at the peak of the roof and take the most direct exposure to wind and UV. The inspector checks every ridge cap shingle for cracking, separation, and proper nailing. Missing or deteriorated ridge caps are one of the most common findings on aging Orlando roofs.
Flashing inspection at all penetrations
Every pipe boot collar is checked for rubber degradation and seal integrity. Step flashing along dormers and chimneys is checked for displacement and sealant condition. Valley flashing is checked for debris accumulation and edge seal integrity. Drip edge condition is verified at all eaves and rakes.
Fastener pattern assessment
In areas where fasteners are visible or can be assessed, the inspector checks for the six-nail fastening pattern required by current Florida Building Code and for any fasteners that have backed out or lost grip.
Deck condition through shingle surface
Walking the roof allows the inspector to feel for soft or spongy areas beneath the shingle surface that indicate deck moisture damage below. Visible waviness or depression in shingle surface indicates panel movement or buckling beneath.
Flat section assessment if present
Any flat or low-slope sections receive a separate assessment focused on membrane condition, seam integrity, drain function, and signs of blistering, ponding areas, or membrane lifting at edges.
Phase 4: The Attic Inspection

Where attic access is available, a thorough inspection includes a check from below the deck. This phase catches things that are completely invisible from the roof surface:

  • Moisture staining on the underside of deck panels indicating past or active water intrusion
  • Mold or biological growth on rafters, deck underside, or insulation
  • Visible daylight through any gap in the deck or at penetration points
  • Ventilation adequacy including soffit vent condition and whether insulation baffles are present
  • Hurricane strap or clip presence at each rafter-to-wall connection
Phase 5: The Verbal Summary and Written Report

After completing the physical inspection, a qualified inspector provides a verbal summary of their findings before leaving your property. They walk you through what they observed, what it means, and what they recommend.

The written report should follow within 24 to 48 hours and include:

  • Date of inspection and property address
  • Inspector name and Florida license number
  • Findings by roof section with specific observations
  • Photos of every significant finding
  • Assessment of shingle age and remaining service life estimate
  • Flashing condition by penetration point
  • Deck condition findings from surface walk and attic check
  • Ventilation adequacy assessment
  • Clear recommendation: repair, replacement, or no action required
  • Itemized estimate if repair or replacement is recommended

A report that says roof is in fair condition with no specific findings, photos, or recommendations is not a useful inspection report. A proper report gives you specific, documented, photographic evidence of what the inspector found so you have the information to make a decision and the documentation to support a future insurance claim.

What Happens After the Inspection

The inspection finding leads to one of three outcomes:

No action required
Your roof is in good condition and no repairs or replacement are indicated. You receive a clean inspection report that serves as a pre-season baseline and supports any future insurance claim by documenting pre-storm condition.
Targeted repairs recommended
Specific items are identified as needing attention. Our roof repair team addresses these targeted items at a fraction of replacement cost.[cite: 18]
Replacement recommended
The roof has reached or passed end of service life. We provide a written roof replacement estimate with specific material options and a clear explanation of the findings.[cite: 18]

Frequently Asked Questions About Roof Inspections in Orlando

It is helpful but not strictly required for the exterior portion of the inspection. For the attic check, someone needs to be available to provide access. If you cannot be present, arrange for access and ensure the inspector has a contact number for any questions or findings they need to discuss during the inspection.
Once per year before hurricane season is the standard recommendation for Orlando homeowners. Roofs over 15 years old or roofs that have experienced storm damage may warrant more frequent assessment. After any significant storm event, a post-storm inspection is advisable even if no obvious damage is visible.
A home inspection is a general assessment of the entire home by a generalist inspector. The roof section of a home inspection is a visual assessment, often from the ground or from the eave, and is not as thorough as a dedicated roofing inspection by a licensed roofing contractor. If a home inspection flags the roof, a dedicated roofing inspection by a specialist should follow.
With OnPoint Roofing, yes. Our inspections are genuinely free with no obligation. We get on the roof, check every relevant system, and give you a written report. If no work is needed, we tell you that. The inspection is not conditional on filing a claim, signing a contract, or agreeing to any work.
Keep it with your roof documentation. The report serves as a dated record of your roof's condition that supports any future insurance claim by establishing pre-storm baseline condition. It also informs your repair and replacement decision timeline.

Schedule Your Free Orlando Roof Inspection With OnPoint Roofing

OnPoint Roofing provides free, thorough roof inspections across Orlando and Central Florida. Every inspection includes a written report with photos, findings by section, and an honest recommendation. We get on the roof, check the attic where accessible, and give you the complete picture before you make any decision.

Leave a Reply

Your email address will not be published. Required fields are marked *

onPoint Roofing services

Subscribe now for Roofing services, tools & services,exciting updates delivered straight to your inbox!
By subscribing, you agree to our Terms & Privacy Policy.
FREE ROOFING ESTIMATE

Tell Us About Your RoofingProject

Complete the form and the OnPoint Roofing team will receive your information directly by email.

Request Your Free Estimate.
Please provide your details so we can contact you.


    Property Address / ZIP Code *

    By submitting, you agree to be contacted by OnPoint Roofing about your request. Your information will not be sold.